Rowing Back on the Reformer Tutorial
Feb 05, 2025
Rowing Back (round Back and Flat Back) is an advanced exercise series requiring good coordination. Since there are a lot of moving parts to focus on, make sure to prepare yourself well for this exercise.
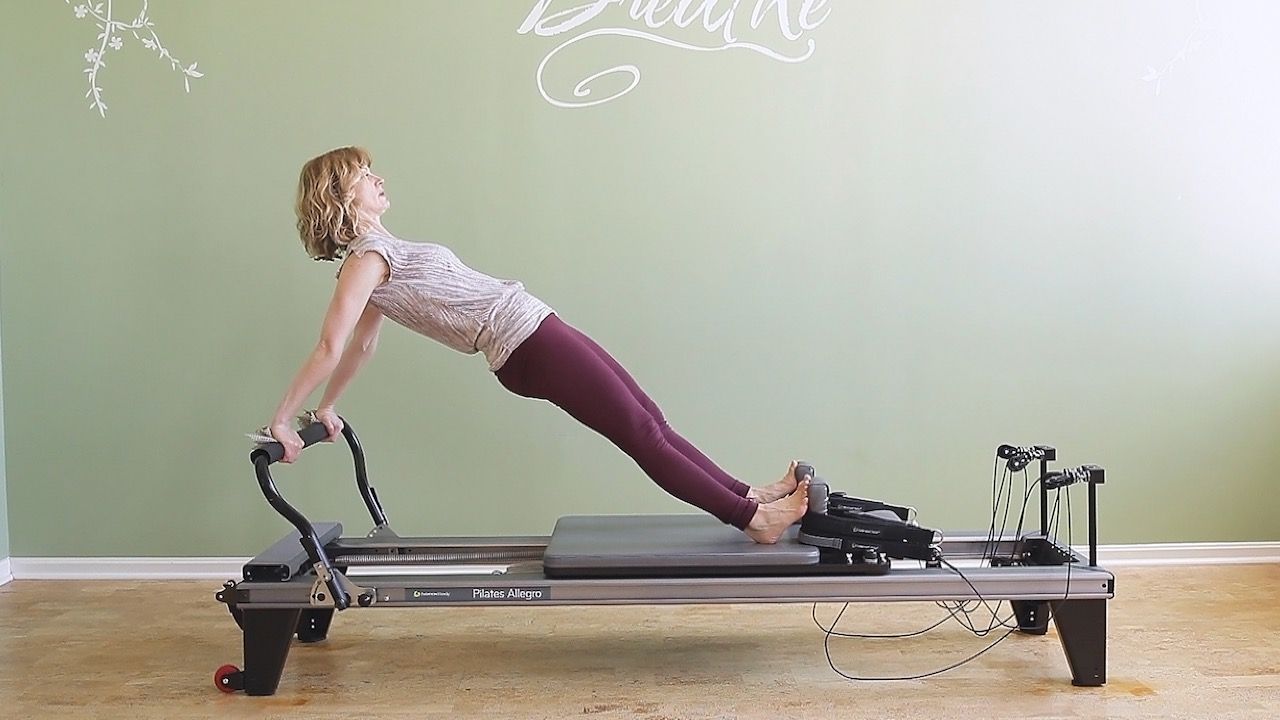
Let's take a look at it first, and then I'll give you some tips. In the video below, I’m working on the Balanced Body Allegro Reformer with one blue spring attached.
Prerequisites
I highly recommend you practice/teach the following exercises before you attempt Back Rowing:
- REFORMER Roll Down
- REFORMER Chest Expansion
- REFORMER Seated Arm Series Facing Back
Setup
- Choose your desired spring. Start with one full tension spring. After the first repetitions you can fine tune, if necessary.
- The shorter the ropes/loops the better.
- Loops or handles work.
Here's a teaching script for you. You can memorize this and use it to teach Back Rowing to your class or client. (Imitation is not stealing, it's learning.)
Just remember that too many cues at once only confuse your client. Start with the simplest words you can think of and add complexity with each repetition and each session. Often, saying less is more effective.
Round Back Teaching Script
- Sit down on the carriage. Turn to face the back of the Reformer (where the ropes are).
- Stretch your legs through the shoulder rests with your calves resting on the headrest.
- Grab the short loops.
- Bend your elbows and pull your hands towards your chest. Point your fingers towards each other, palms towards your chest.
- INHALE, sit tall to prepare.
- EXHALE, reach your feet forward as you roll off your sit bones. Round your spine. As you slide the carriage forward and your torso moves back (opposition). Roll about halfway down.
- INHALE, maintain the C-Curve and without moving the carriage open your arms out to a T-position. Rotate your palms to face back.
- EXHALE, bend forward over your legs as you press your arms back (the carriage doesn’t move during this step).
- Reach your hands as close together behind your back as possible. If possible, clasp your hands. Bending your arms will make it easier to interlace your hands.
- INHALE, straighten your arms behind you as much as possible.
- EXHALE, release your hand grip and circle your arms around and to the front.
- Once your arms are at the front, the ropes will go slack, as the carriage has bottomed out (is all the way home). Turn your hands inside the loops (or turn the handles) and
- INHALE, stack your spine to roll up into the seated starting position.
Repeat as often as you have the focus and strength to perform the exercise with good form.
Don't forget to cue your client or class safely out of the exercise.
Finishing Up
- Return the carriage home.
- Hang up the loops on the pegs or shoulder rests. (Alternatively, carefully drop the ropes and handles into the well of the Reformer).
- Turn sideways, let your feet touch the ground and stand up.
Flat Back Teaching Script
- Bend your elbows and turn your palms towards you. Lift your elbows to shoulder height, and keep them in line with your shoulders. Your fingers are pointing to the ceiling.
- INHALE, sit tall to prepare.
- EXHALE, lean back with a flat back.
- INHALE, reach your arms up towards the ceiling while rotating your palms inside the loops so they face forward.
- EXHALE bend forward over your legs and lower your arms outside the carriage. Sweep your arms back.
- (Continue as in the round back version:) Reach your hands as close together behind your back as possible. Clasp your hands if possible. Bending your arms will make it easier to interlace your hands.
- INHALE, straighten your arms behind you. (If this is going well, try rolling your shoulders back and lift your arms as high as you can.)
- EXHALE, release your hand grip and circle your arms around and to the front. The straps will go slack here, as the carriage has returned all the way home). Turn your hands inside the loops so that - when your hands are in front of you - you can grab the loops and roll up into the seated starting position.
- INHALE, stack your spine and return your arms into the starting position.
- Repeat from point 3 as often as you have focus and strength to perform the exercise with good form.
Don't forget to cue your client or class carefully out of the exercise (see finishing up section above).
Troubleshooting
- Choosing a lighter spring can help you learn the coordination of the movement without having to fight against resistance.
- You could even practice the movement without holding the loops. Since the carriage won't move, this gives you a chance to focus solely on your body. Although it will feel a bit different of course.
- The rotation of the hands in the loops can be tricky at first. Take some time to just practice that aspect before putting it all together.
- Slowing down the movement will help you become aware of every joint movement in the body. Make sure you take many extra breaths. Add the breath coordination back in once you can move through the exercise more fluidly.
- Doing only part of the whole movement is a great way to learn the exercise step by step. For example, roll back, then return to the start. After doing this a few times, roll back, hold the position, open your arms, and reverse those two steps.
This is just one example of hundreds of Pilates exercises and variations you'll find explained in detail inside the Pilates Encyclopedia membership. Join us.


